I was about to start work on another song for February Album Writing Month when I noticed that my chromatic harmonica was buzzing badly on one hole. When this happens on a regular blues harmonica, it’s usually just a tiny piece of dirt stuck in a reed. Nine times out of ten you can fix it very quickly.
But a chromatic is an entirely different animal. This is the big harmonica with the button that you see jazz and classical players use. It’s essentially two harmonicas in one; unlike standard harmonicas it has both the “white keys” and the “black keys,” and you switch between them by pressing the button. With the button out, you use one set of reeds, and with the button in, you use an entirely different set.
They’re also harder to play, so most chromatics include small valves, or “windsavers,” that block off the reeds you aren’t playing. They’re basically just small strips of plastic that get sucked or blown against the reed plate to block off, say, the blow reed when you are playing a draw note.
These valves get stuck sometimes, or damaged. They’re very delicate, and the slightest rip or tear, or even bend, in them, will affect your playing. The buzzing usually indicates a dirty or stuck valve.
Thanks to Winslow Yerxa’s excellent tutorial, I was able to clean them properly without damaging them. I took a few photos to illustrate the process.

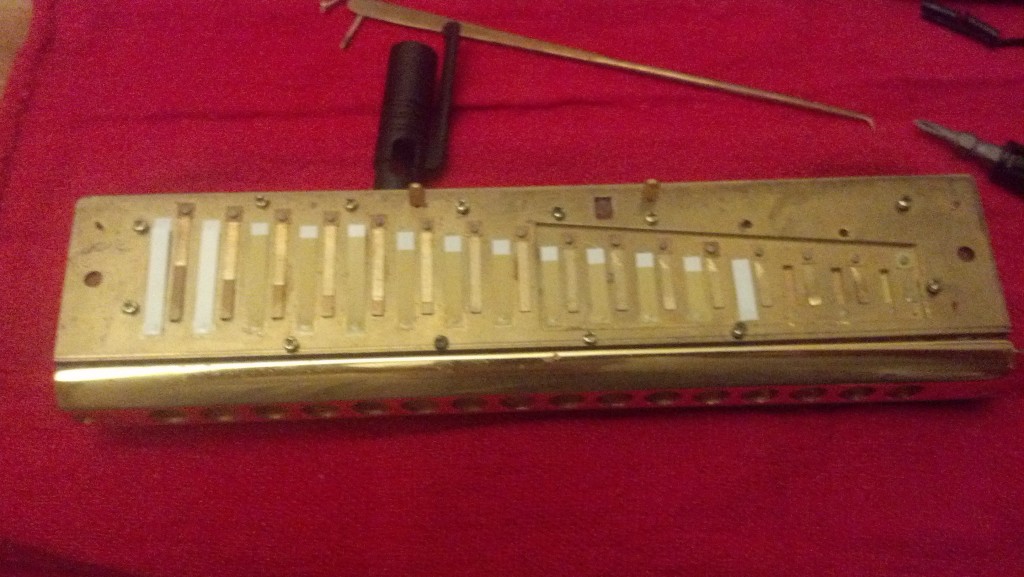
Here’s the chromatic with its cover plates removed. The next step is to remove the reed plate from the comb; there are fifteen small screws to be removed around the perimeter of the plate.

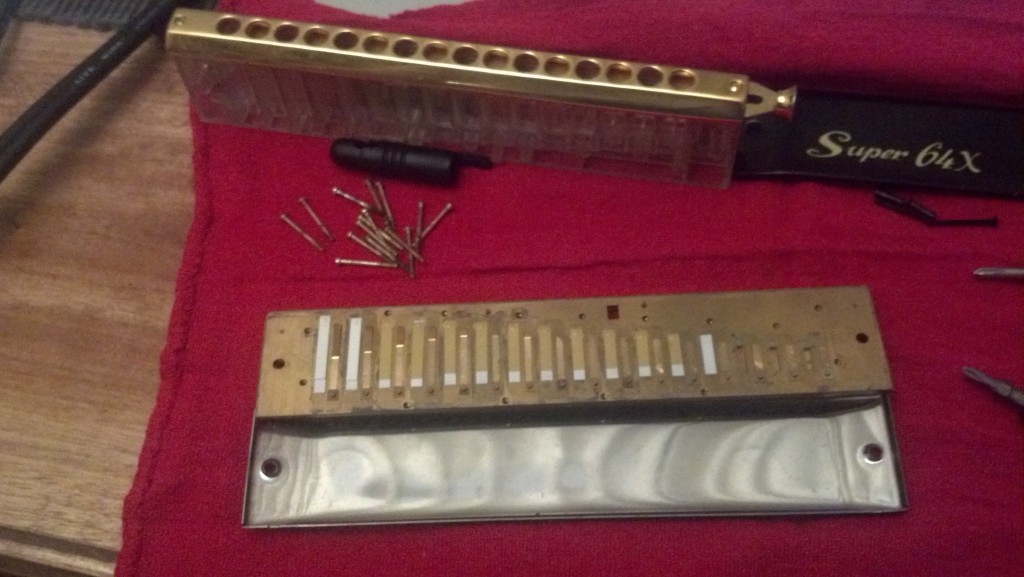
The reed plate has now been removed from the comb, and is resting on the lower cover plate. You must be very careful not to damage the reeds and valves on the other side of the plate while working.

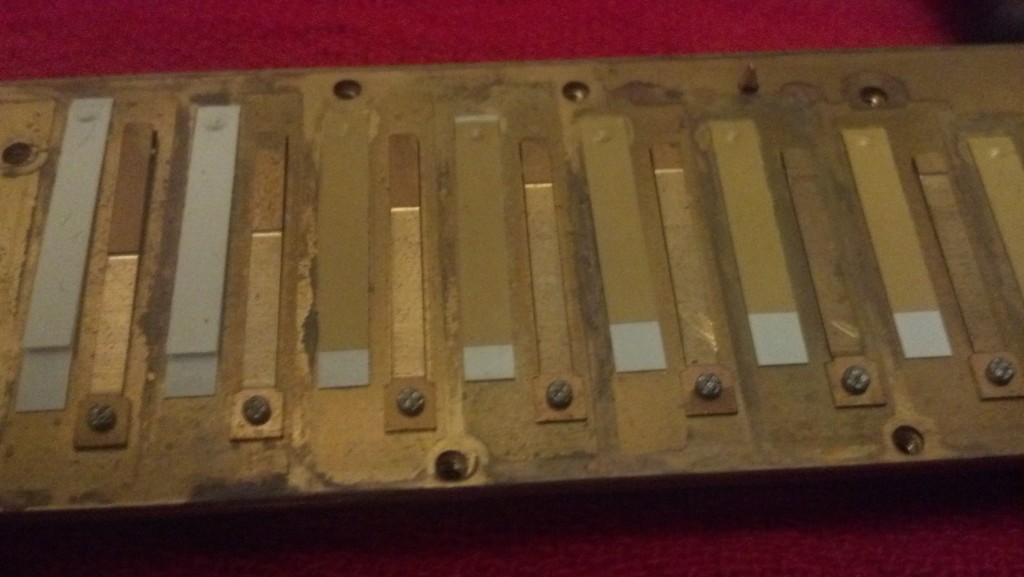
Closeup of the valves and reeds. The reeds are the brass strips with the rivets, and the valves are the brown-and-white strips next to them. There are two reeds for each hole in the harmonica; you see here the pairs for seven holes.
We are looking at the inside of the bottom reed plate, so the exposed reed is the blow reed. When you blow air over the reed and its neighboring draw reed, the valve will be blown down against the plate, blocking the draw reed, so that all your air goes over the blow reed. There is an equivalent valve on the other side of the plate beneath the blow reed. When you draw, that valve will be pulled against the reed plate, blocking off the blow reed, and the valve you see will be lifted up, allowing air to flow over the draw reed.
The cleaning process Winslow describes works perfectly; read his post for the detailed description. You basically use a bit of cleaning material (he suggests a piece of brown paper bag, cut to just slightly larger than the valve, dipped in water) to clean between the valve and the plate, and between the two layers of the valve (the white layer, which is soft and adheres to the plate, and the beige layer, which is stiffer and serves as a spring to return the valve to position after it operates).